Embarking on small DIY projects can be satisfying and empowering, but ensuring they look polished involves a blend of technique, planning, and attention to detail. Discover how to take your homemade creations from amateur to astounding with these essential tips and tricks.
The Art of Preparation
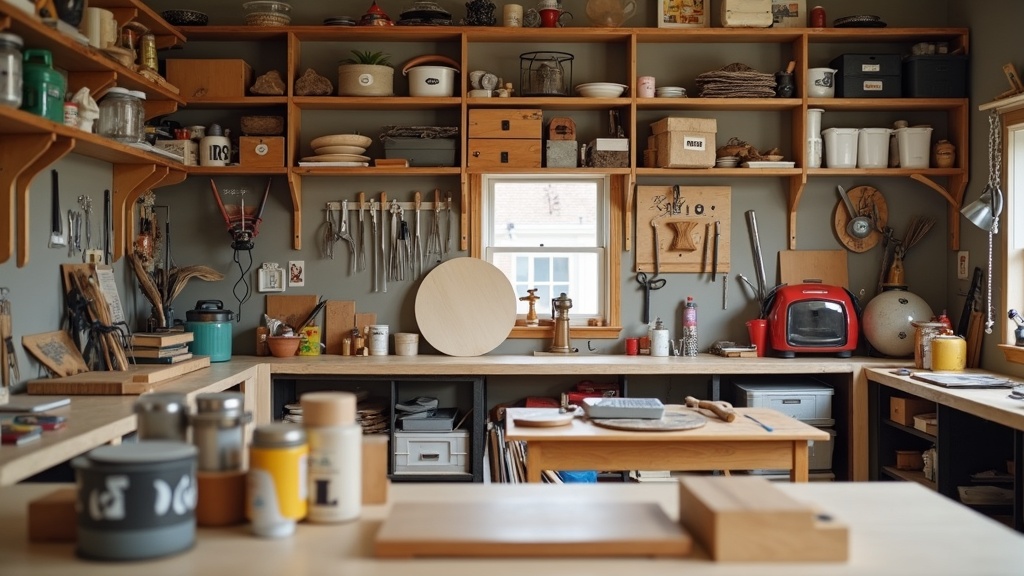
Before diving headfirst into a DIY project, preparation is paramount. This means gathering all necessary materials, finalizing your plan, and ensuring your workspace is clean and well-organized. According to professional woodworker Lena Marks, 'A good plan reduces unnecessary steps, and having everything at hand ensures fluidity in execution.'
Choosing Quality Materials
The foundation of any polished DIY project is the quality of its materials. Opt for premium supplies that are suited for your task. Taj Winters, an interior designer, shares, 'Investing a little more in high-quality materials pays off in the long run, as these elements naturally enhance the finish of your project.'
Precision in Measurement
In the world of DIY, there's no room for guesswork. Ensure every measure is precise to avoid uneven finishes. 'Measure twice, cut once' is not just a phrase; it's a principle. James Harper, a cabinetry expert, reiterates, 'Errors in measurement are the biggest downfall of achieving a professional look.'
Mindful Assembly Steps
Assembling your project properly is crucial to its final appearance. Pay close attention to the alignment of pieces and the integrity of each joint. Novelist and avid DIYer Maya Lee suggests, 'Consider dry-fitting pieces first to understand how they come together before committing to permanent assembly.'
The Importance of Safety
Safety should never be overlooked in any DIY endeavor. Utilizing the right safety gear and understanding the correct operation of tools is essential. Workshop instructor Vik Patel warns, 'A polished finish is only valuable if achieved safely. Always put your well-being first.'
Mastering Finishing Techniques
Finishing your project can significantly impact its look. Whether it's sanding, staining, or painting, each step should be executed with care. Artisan finisher Carlos Rivera emphasizes, 'Take your time with these final steps, as the finishing techniques are where the magic happens.'
Tools of the Trade
Opting for the right set of tools not only makes the job easier but also influences the project's outcome. Choose tools that are appropriate for the scope and material of your project to enhance your ability to achieve a smooth finish. DIY consultant Gillian Moore adds, 'Good tools are an investment that immediately translates into quality results.'
Final Touches that Count
The last bits of your project hold the potential to elevate it from good to great. This includes details like hardware, additional detailing, or a signature touch that personalizes the end result. Artist Eden Ross believes, 'It's the small details that showcase a project's craftsmanship and make it truly polished.'
Evaluating and Refining
Once completed, step back and evaluate your handiwork. Assess what worked well and areas that may need refinement in future projects. Constant improvement is key to mastering the art of DIY. As experienced renovator Michael Lin states, 'Each project is a learning experience – there is immense value in reflecting on the process.'